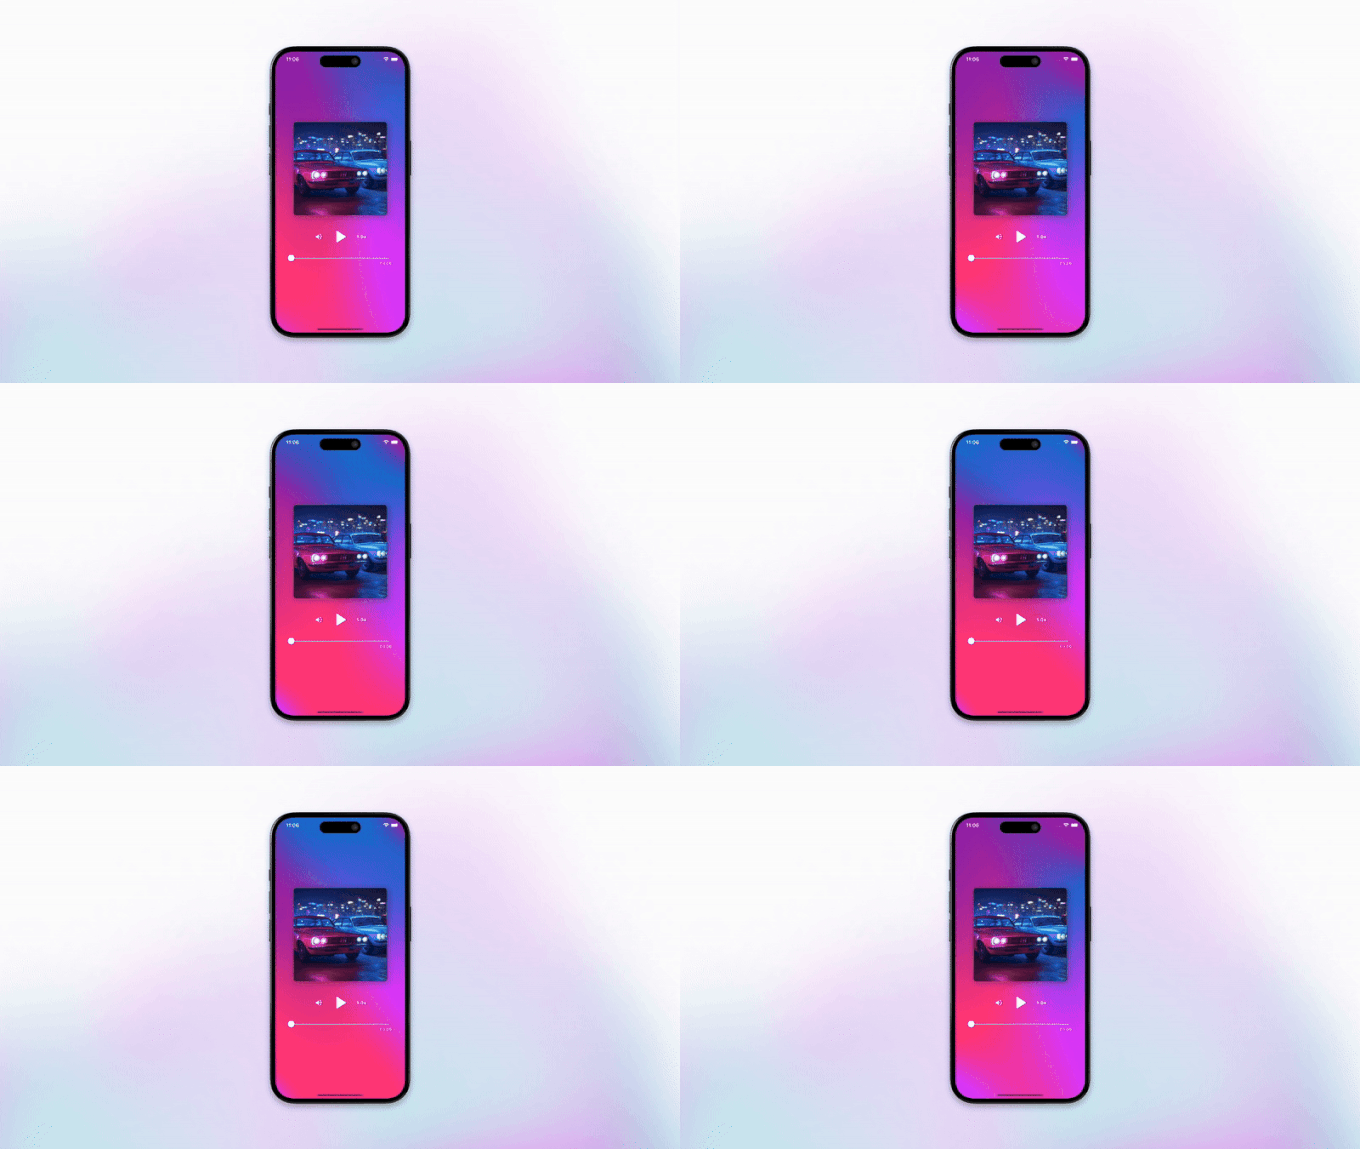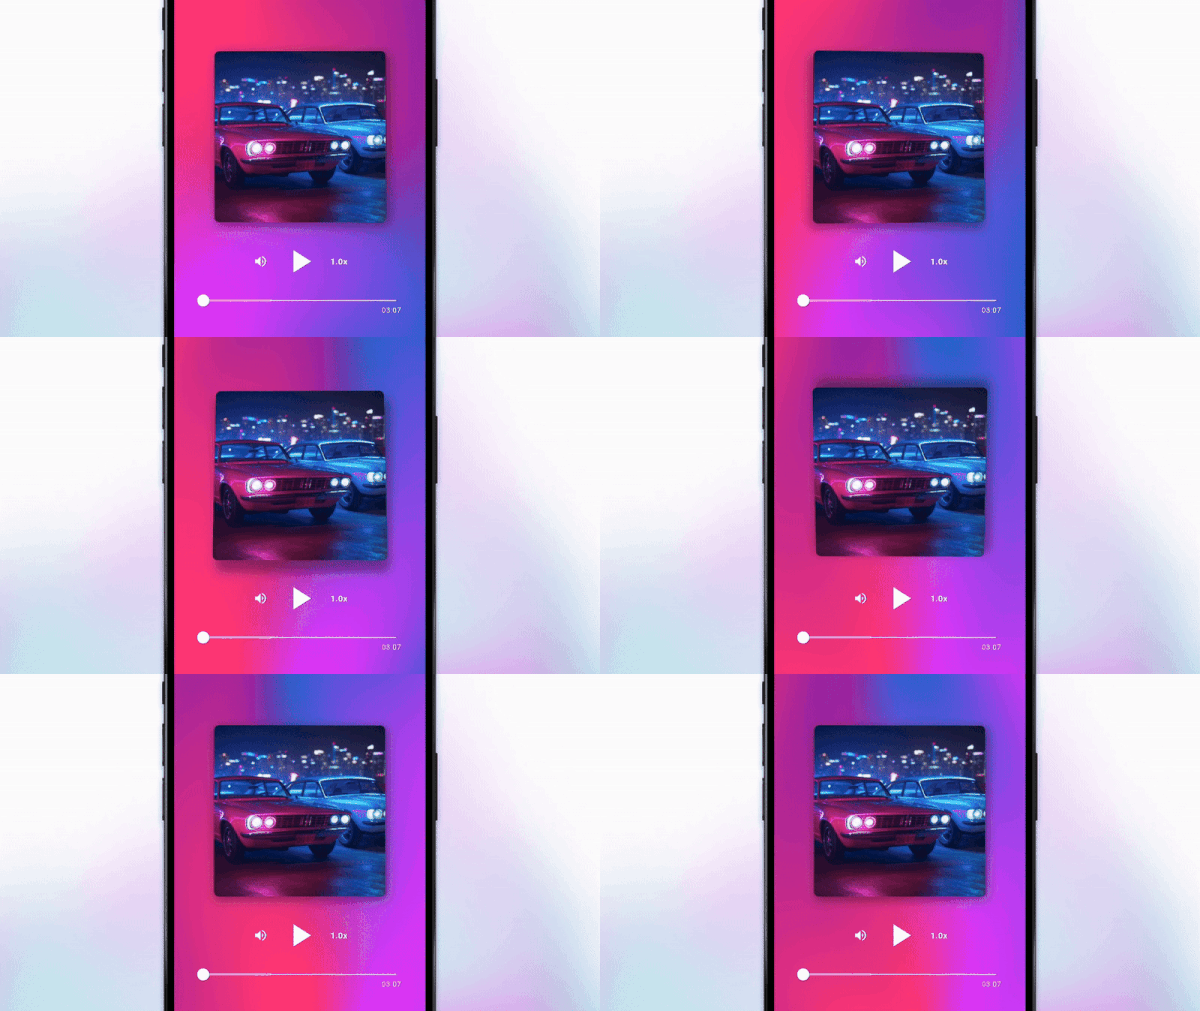
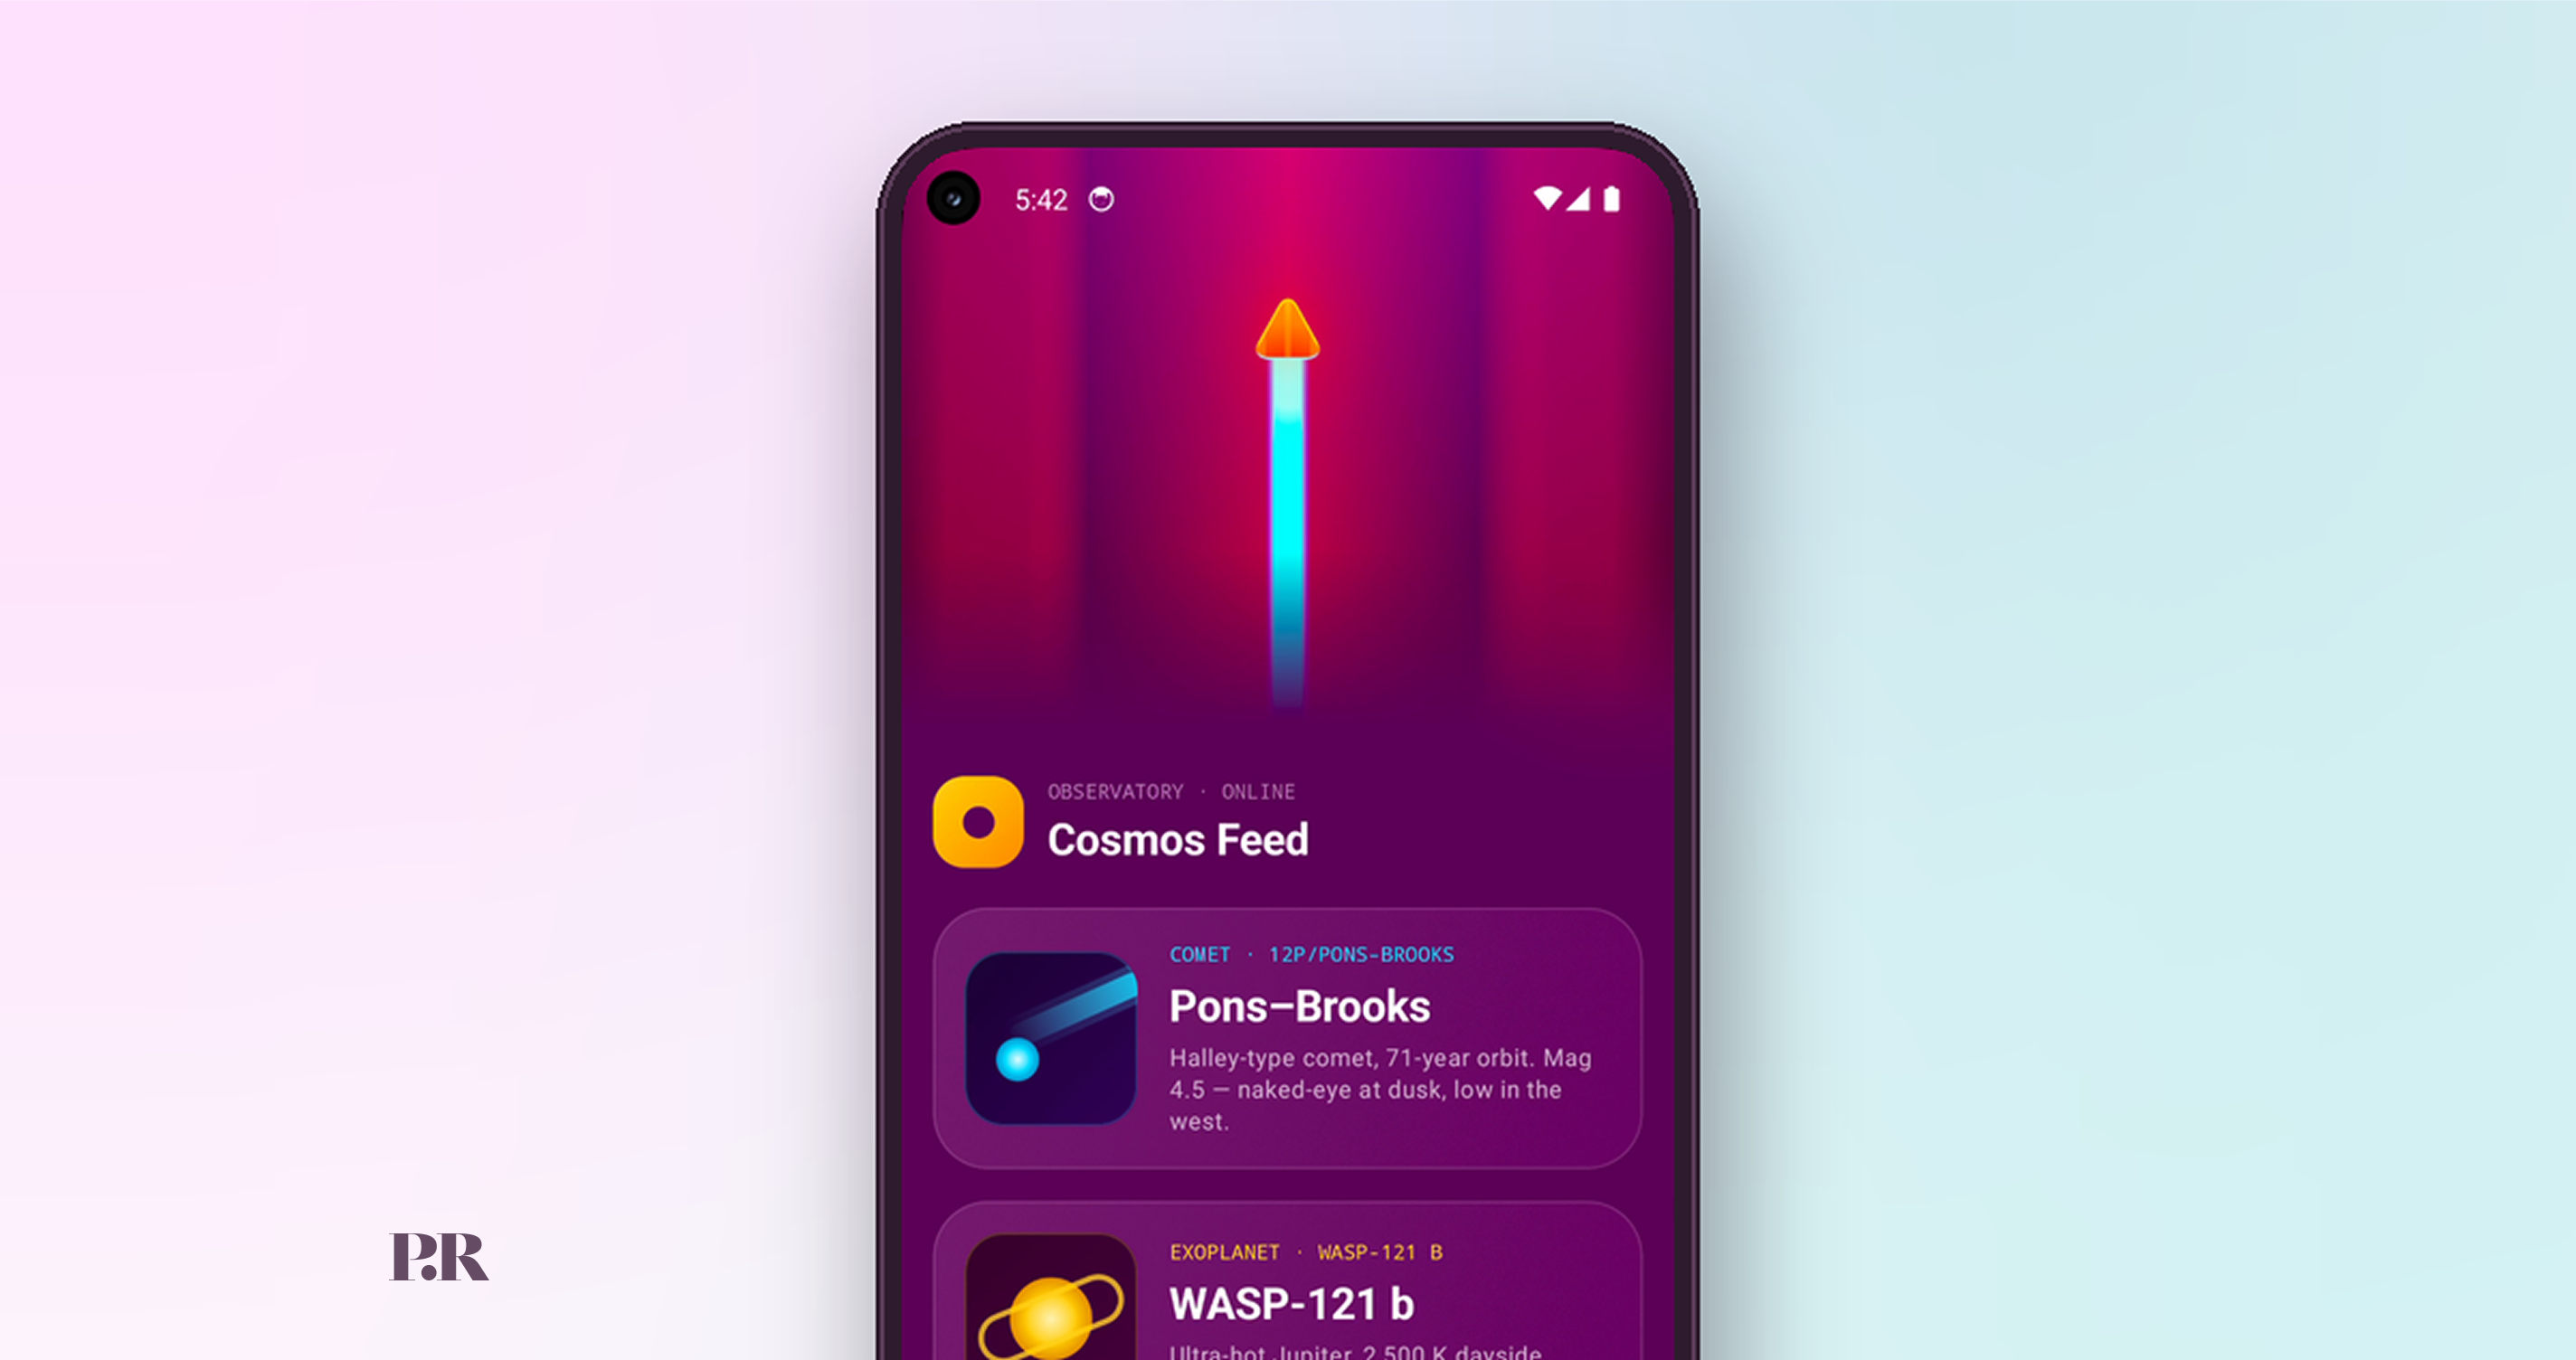
Many mobile apps are built with excellent engineering but still fail to win over users. The UI feels rough, the experience doesn't match what people expected, and they quietly stop using the app or never recommend it. Unfortunately, nobody writes a review praising a clean architecture. As mobile developers, we own that first impression. The screen the user sees is the whole product to them, so it has to look good and feel good to use. Getting this right is halfway to retaining users and to having them recommend the app to their friends.
A while ago, while practising my English on Duolingo, I kept noticing how well the app is put together. It's simple, it looks good, the animations are smooth, and it keeps pulling you back for one more lesson. Then I watched the KotlinConf 2025 talk where Duolingo explained how they build those animations with Rive, and I went digging.
What I found was a tool that lets you build rich, interactive animations, control them from code through inputs, and run the exact same file on iOS, Android, Flutter, React Native, web, Unity and more. One animation, built once, used by every team in whatever stack they ship with. The design stays consistent across platforms without anyone redrawing it. Honestly, a dream for developers.
If you build mobile apps, like me, two questions come up right away. What is the difference between Rive and Lottie? And couldn't I draw the same thing myself with Canvas?
Rive and Lottie solve different problems. Lottie is a playback format. You export an animation from After Effects, the app plays it, and that's it. You can loop it, play a segment, or scrub it by progress, but it's not interactive. Rive is built around interaction. The animation comes with its own controls. The app tells it things like "the user has pulled this far" or "the request is done", and the animation decides how to move. You can also change what's inside the animation at runtime, like swapping a text run so a character greets the user by name. Lottie is still the right tool for a one-shot loader or a success tick. The moment the animation has to respond to the user, Rive is the better fit.
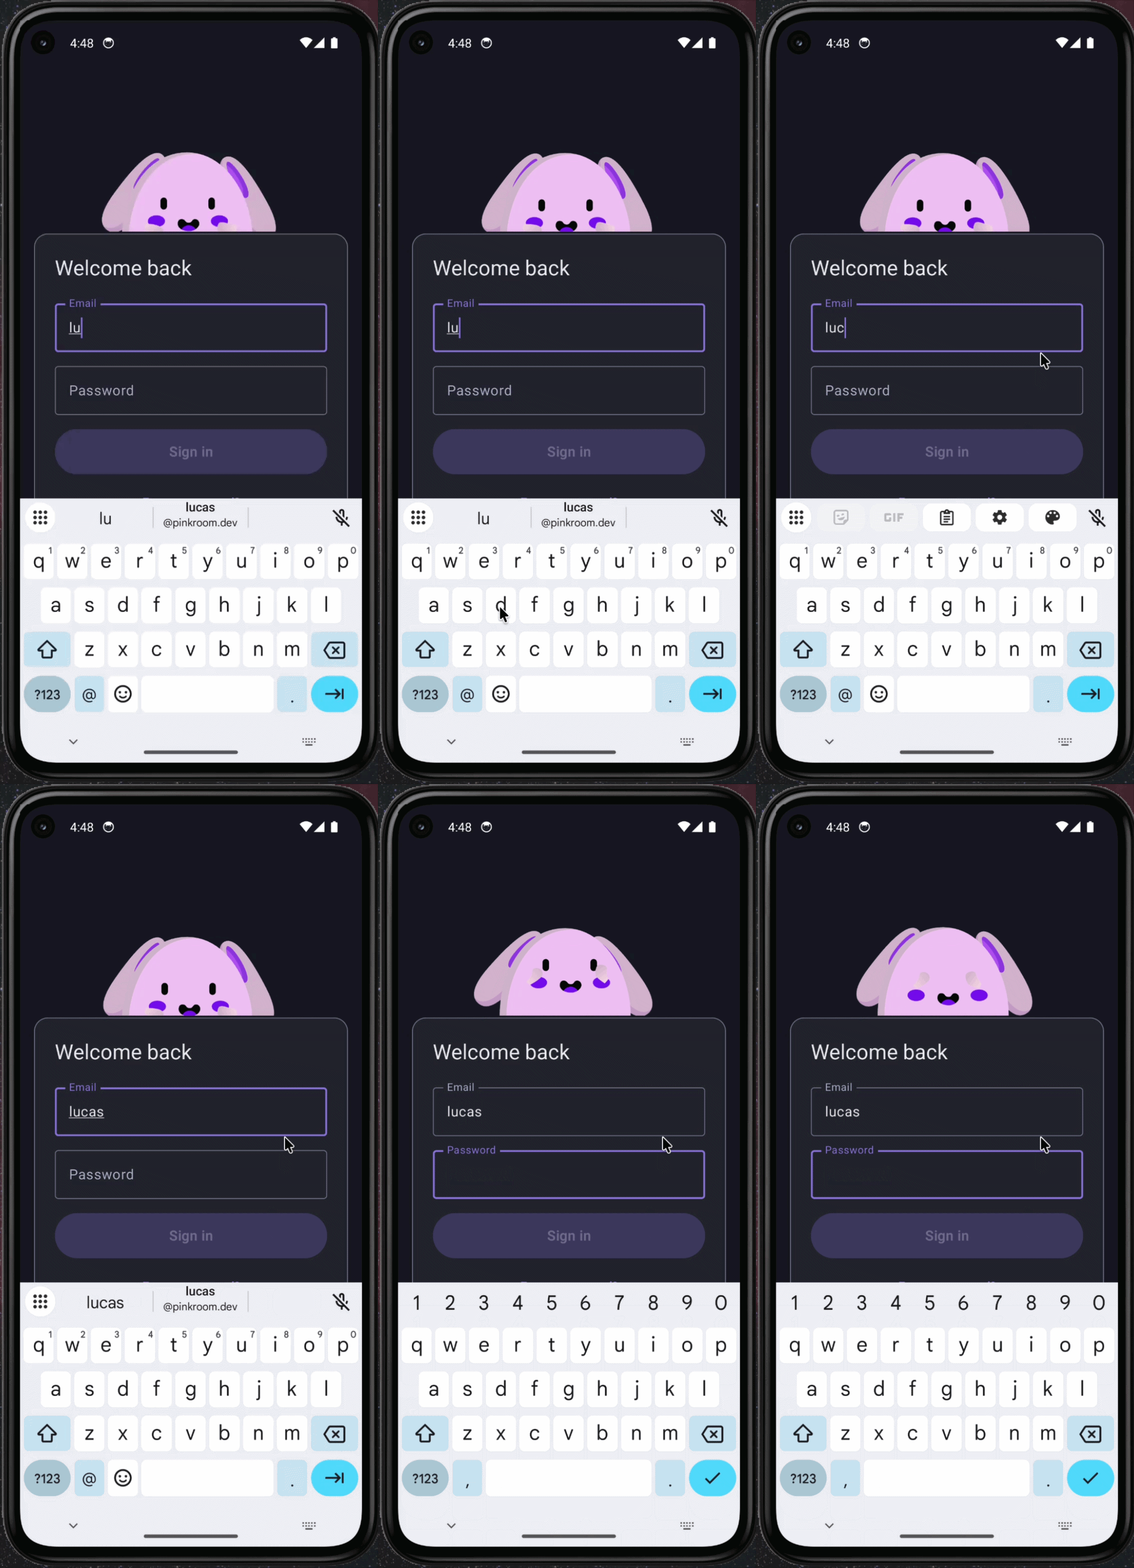
As for Canvas, yes, you could build the same thing by hand. The difference is how much code you write and maintain. With Canvas you code the animation yourself, then do it again on iOS and web, and keep three versions in sync. With Rive it's one file that works everywhere, and the code on each platform is a few lines to load it and pass in values.
For interactive animations that respond to user or app input, stay maintainable, and look identical across platforms, Rive is the tool I'd recommend.
Here are a few places in a mobile app where Rive earns its spot:
These are three examples. Any moment where the app has something to say back to the user, a loading state, an error, an onboarding step, a success, is a candidate. With a bit of imagination, the sky is the limit.
Let's build the pull-to-refresh animation with Rive below, step by step.
Satisfying, right? It's a small detail but it turns a gesture users barely notice into one they actually enjoy. And as you'll see, it doesn't take much code to get there.
The first task is getting a .riv file. You can build your own in the Rive Editor, but for this example I used an open-source animation from the Rive marketplace. Credit to JcToon for the original work. I made two changes to it. I added a trigger input to reset the animation, and I moved the inputs into a view model, using Rive's new data binding feature. The modified file is available here.
Before we write any code, it's worth understanding how this animation works and how the user's gesture connects to it. Once that's clear, the code is mostly plumbing.
Let's start with the Rive file itself. The animation exposes three properties: trigReset, numDrag and numLoad.
Those three properties are all we need to control the animation from the app. The short video below shows what each one does, which is easier than describing it.
Now that we know how the animation works, let's connect it to the user's gesture. The whole cycle has three phases.
1. Pulling. Before the user touches the screen, the animation is hidden and we define a maximum pull distance, the threshold. As the user pulls, we turn the distance into a percentage, (pullDistance / threshold) * 100, and feed it to numDrag. There is one catch. The loading animation starts as soon as numDrag hits 100, but we only want that to happen when the user has reached the threshold and then released their finger from the screen. So while the finger is still down, I halve the progress: ((pullDistance / threshold) / 2) * 100. That keeps numDrag at 50 at most during the pull, so the loading animation can't start early.
2. Loading. When the threshold is reached and the user releases, we set numDrag to 100. The loading animation starts and loops for as long as the request takes.
3. Finishing. When the request completes, we set numLoad to 100, which plays the finish animation. Once it ends, we hide the animation and fire trigReset to put every object back in its starting position, ready for the next pull.

Now for the best part, let's bring all the pieces together and build the pull to refresh with Rive and Jetpack Compose.
First we need to add the Rive library to the version catalog and initialize the library.
// gradle/libs.versions.toml
[versions]
rive = "11.10.0"

[libraries]
rive-android = { group = "app.rive", name = "rive-android", version.ref = "rive" }
// app/build.gradle.kts
dependencies {
    // ...
    implementation(libs.rive.android)
}
Rive needs to be initialised once before you use it. There are a few ways to do this, and the Rive docs cover them all. My preference is to call Rive.init in the Application class, so it happens once at app start.
// RiveSpikeApp.kt
class RiveSpikeApp : Application() {
    override fun onCreate() {
        super.onCreate()
        Rive.init(context = this)
    }
}
Don't forget to register it in the manifest so it is actually used as the app's entry point.
<!-- AndroidManifest.xml -->
<application
    android:name=".RiveSpikeApp"
    ... >
The last step is the animation itself. Drop the .riv file into res/raw, and the setup is done.
To drive the animation we need three things from the gesture: how far the user has pulled, the maximum pull distance, and the moment the user releases their finger past that distance. Material 3 gives us all of it through Modifier.pullToRefresh.
// HomeScreen.kt
val pullToRefreshState = rememberPullToRefreshState()

Screen(
    modifier = Modifier
        .pullToRefresh(
            isRefreshing = state.isRefreshing,
            state = pullToRefreshState,
            enabled = !state.isRefreshing,
            threshold = dimens.image.pullToRefreshRiveHeight,
            onRefresh = {
                onEvent(HomeEvent.OnPullToRefresh)
            },
        ),
    // ...
) {
    // ...
}
Screen is a wrapper I use in every screen of the project. It carries a few parameters that every screen needs, but nothing here depends on it, so a plain Box works just as well. The full component is in the sample repo.
Here is what each parameter of Modifier.pullToRefresh gives us:
PullToRefreshState. Its distanceFraction goes from 0.0 to 1.0 and is exactly pullDistance / threshold, so it's the value we convert to a percentage and pass to the Rive animation's numDrag property.Before building the component, let's define a small enum that makes the animation easier to control. It maps directly to the three phases from earlier.
// PullToRefreshAnimationState.kt
enum class PullToRefreshAnimationState {
    Idle,
    Refreshing,
    Completed,
}
In this example the value lives in the screen's UI state and is updated by the ViewModel.
Now we can create the composable that will host the Rive animation. Let's start with an empty one.
// PullToRefreshRiveAnimation.kt
@Composable
fun PullToRefreshRiveAnimation(
    modifier: Modifier = Modifier,
    dragProgress: Float,
    state: PullToRefreshAnimationState,
) {
}
It takes three parameters. modifier lets the caller size and position the component so it can be reused anywhere. dragProgress receives the distanceFraction from PullToRefreshState. state is our PullToRefreshAnimationState which tells the component which phase of the animation to show.
Now it's time to load the animation. The whole composable is a few lines, so let's go through it in four parts.
1. Load the file.
// PullToRefreshRiveAnimation.kt
@Composable
fun PullToRefreshRiveAnimation(
    modifier: Modifier = Modifier,
    dragProgress: Float,
    state: PullToRefreshAnimationState,
) {
    val worker = rememberRiveWorker()
    val fileResult = rememberRiveFile(
        source = RiveFileSource.RawRes.from(R.raw.pull_to_refresh_rive),
        riveWorker = worker,
    )

    if (fileResult !is RiveResult.Success) {
        Box(modifier = modifier)
        return
    }
    val file = fileResult.value
rememberRiveWorker gives us a worker that loads the file and manages the thread the animation runs on. rememberRiveFile uses it to load the .riv from res/raw. Loading can fail, so we check the result. Here the fallback is an empty Box, but you could show anything you like, such as the default Material indicator.
2. Pick the artboard, the state machine and the view model.
// PullToRefreshRiveAnimation.kt
...
val artboard = rememberArtboardResult(file = file, artboardName = "Artboard")
if (artboard !is RiveResult.Success) {
    Box(modifier = modifier)
    return
}

val stateMachine = rememberStateMachineResult(
    artboard = artboard.value,
    stateMachineName = "Motion",
)

val viewModelInstance = rememberViewModelInstanceResult(
    file = file,
    source = ViewModelSource.DefaultForArtboard(artboard = artboard.value).defaultInstance(),
)

if (stateMachine !is RiveResult.Success || viewModelInstance !is RiveResult.Success) {
    Box(modifier = modifier)
    return
}
val instance = viewModelInstance.value
A Rive file can hold several artboards, and each artboard has its own state machines. artboardName and stateMachineName have to match the names set in the Rive Editor exactly or nothing will play. In the sample repo I keep these names in a constants file, so that a rename in the editor means one change in the code instead of a hunt through every call site.
The view model instance is what we will use to change the three properties, numDrag, numLoad and trigReset. Loading the artboard, the state machine or the view model can also fail, for example if a name doesn't match. When that happens we show the same empty Box as before, but you can replace it with any fallback you like.
3. Turn the drag progress into a height.
// PullToRefreshRiveAnimation.kt
...
val progress = dragProgress.coerceIn(0f, 1f)

val height by animateDpAsState(
    targetValue = dimens.image.pullToRefreshRiveHeight * progress,
    animationSpec = spring(
        dampingRatio = Spring.DampingRatioNoBouncy,
        stiffness = Spring.StiffnessHigh,
    ),
)
distanceFraction keeps growing past 1.0 if the user pulls beyond the threshold, so we clamp the progress to the 0 to 1 range. Without the clamp the component would grow taller than its maximum height. The clamped value then drives an animated height from 0 to the maximum, with a stiff spring so it follows the finger closely.
4. Draw the Rive animation.
// PullToRefreshRiveAnimation.kt
...
    Box(
        modifier = modifier
            .fillMaxWidth()
            .height(height.coerceAtLeast(minimumValue = 0.dp))
            .clipToBounds(),
        contentAlignment = Alignment.BottomCenter,
    ) {
        Rive(
            file = file,
            modifier = Modifier
                .fillMaxWidth()
                .requiredHeight(dimens.image.pullToRefreshRiveHeight),
            artboard = artboard.value,
            stateMachine = stateMachine.value,
            viewModelInstance = instance,
            fit = Fit.Cover(alignment = RiveAlignment.Center),
            pointerInputMode = RivePointerInputMode.PassThrough,
        )
    }
}
The outer Box is the one that grows and shrinks, and it clips its content. Inside it the Rive composable always has the full height, so the height change only reveals more of the animation rather than re-laying it out on every frame. Fit.Cover makes the animation fill the available space, and PassThrough tells Rive not to consume touch events, so the pull gesture keeps reaching the modifier we set up earlier.
If you run the app now, you can pull and watch the component grow with your finger. Release it, though, and nothing happens. We haven't wired the three properties yet, and that's the next step.
Everything is loaded and drawn. What's left is turning dragProgress and PullToRefreshAnimationState into the three properties from earlier. Two LaunchedEffects do the job. They sit right after the height calculation, before the Box, and we'll go through them one at a time.
1. Drive numDrag and reset.
// PullToRefreshRiveAnimation.kt
...
LaunchedEffect(key1 = instance, key2 = progress, key3 = state) {
    instance.setNumber(
        propertyPath = "numDrag",
        value = when (state) {
            PullToRefreshAnimationState.Idle -> (progress / 2) * 100f
            PullToRefreshAnimationState.Refreshing -> 100f
            else -> 0f
        },
    )
    if (progress == 0f) {
        instance.fireTrigger(propertyPath = "trigReset")
    }
}
This effect runs again whenever the view model instance, the progress or the state changes, and it owns numDrag. While the state is Idle the user is still pulling, so we halve the progress before turning it into a percentage. That's the trick from the logic section: numDrag tops out at 50 while the finger is down, so the loading animation can't start early. When the state moves to Refreshing, the user has released past the threshold, so we set numDrag to 100 and the loading animation starts. In any other state it goes back to 0.
The check at the end handles the reset. When progress is 0 the component is hidden, so this is the moment to fire trigReset and put every object back in its starting position, ready for the next pull.
2. Drive numLoad.
// PullToRefreshRiveAnimation.kt
...
LaunchedEffect(key1 = instance, key2 = state) {
    instance.setNumber(
        propertyPath = "numLoad",
        value = when (state) {
            PullToRefreshAnimationState.Completed -> 100f
            else -> 0f
        },
    )
}
The second effect only cares about the state, so progress isn't one of its keys. When the request finishes and the state becomes Completed, we set numLoad to 100 and the finish animation plays. In every other state it stays at 0, which keeps the finish animation out of the way until it's needed.
That's the whole PullToRefreshRiveAnimation component. It knows how to show every phase of the animation, but it doesn't decide when a phase starts. That decision belongs to the screen ViewModel, and that's where we go next.
This project uses MVI, so the ViewModel owns the UI state and the UI state holds the PullToRefreshAnimationState. The component we just built only reads that value. The ViewModel is the one that moves it through the three phases, and it does so in three steps.
1. Consume the event.
Earlier, Modifier.pullToRefresh sent HomeEvent.OnPullToRefresh when the user released past the threshold. The ViewModel picks it up in onEvent
// HomeViewModel.kt
fun onEvent(event: HomeEvent) {
    when (event) {
        HomeEvent.OnTopIconTapped -> handleTopIconTap()
        HomeEvent.OnPullToRefresh -> handlePullToRefresh()
    }
}
2. Start the refresh.
// HomeViewModel.kt
private fun handlePullToRefresh() {
    _state.update {
        it.copy(
            isRefreshing = true,
            pullToRefreshAnimationState = PullToRefreshAnimationState.Refreshing,
        )
    }
    loadFeed(refetch = true)
}
Two things happen here. isRefreshing becomes true, which keeps the pull to refresh visible after the user lets go and disables a second pull. pullToRefreshAnimationState becomes Refreshing, which our component turns into numDrag at 100 so the loading animation starts. Then we fire the request.
3. Load the feed and finish the animation.
// HomeViewModel.kt
private fun loadFeed(refetch: Boolean = false) {
    viewModelScope.launch(Dispatchers.IO) {
        _state.update { it.copy(isLoading = true) }
        when (val response = cosmosRepository.getFeed()) {
            is Response.Success -> _state.update {
                it.copy(isLoading = false, items = response.data)
            }

            is Response.Error -> {
                _state.update { it.copy(isLoading = false) }
                SnackbarController.sendEvent(
                    event = SnackbarEvent.Show(messageRes = response.stringResError),
                )
            }
        }

        if (refetch) {
            _state.update {
                it.copy(
                    pullToRefreshAnimationState = PullToRefreshAnimationState.Completed,
                )
            }
            delay(duration = 3700.milliseconds)
            _state.update {
                it.copy(
                    isRefreshing = false,
                    pullToRefreshAnimationState = PullToRefreshAnimationState.Idle,
                )
            }
        }
    }
}
The first half is an ordinary request. We ask the repository for the latest feed, store the items on success, and show a snackbar on error. Nothing about it is specific to Rive.
The second half only runs when the load came from a pull refresh. First we move the state to Completed, which sets numLoad to 100 and plays the finish animation. Then we wait. The delay gives the finish animation time to play to the end, and 3.7 seconds is how long it takes in this file, so adjust it if you use a different animation. Once it's done we set isRefreshing back to false and the state back to Idle. The component shrinks to zero height, the reset trigger fires, and the user can pull again.
That's all the code we need. The gesture feeds a number into a Rive file, a small enum tells the animation which phase to play, and the ViewModel moves the enum along as the request runs. The full project is in the sample repo, so if anything here is unclear, everything is there to run and pick apart.
I hope you enjoyed this post and found it useful. If you have questions about the implementation, or a Rive animation of your own you'd like to show off, reach out to us on LinkedIn or Instagram, or send us a message. Thanks for reading.